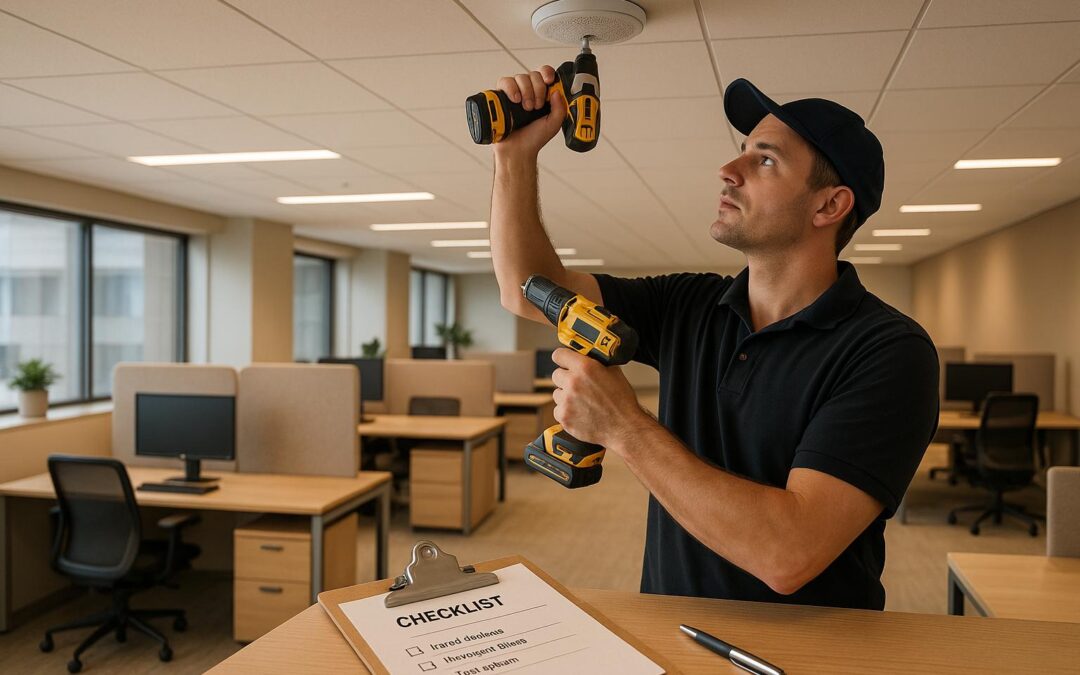
Sound masking systems reduce distractions and enhance speech privacy by adding controlled background noise. To install one effectively, follow these four steps:
- Plan: Survey the site, assess acoustic needs, and map emitter placement.
- Prepare Equipment: Set up the control module, organise cables, and test components.
- Install: Mount emitters, connect wiring, and ensure proper alignment.
- Configure: Define zones, fine-tune acoustics, and calibrate sound levels.
Key considerations include ceiling type, consistent sound coverage, and zone-specific settings. For example, open areas typically require 45–48 dB(A) sound levels, while private offices need 37–39 dB(A). Regular testing and adjustments ensure long-term performance and compliance with standards like BS 8233:2014.
A detailed plan, proper setup, and ongoing maintenance are critical for achieving optimal results.
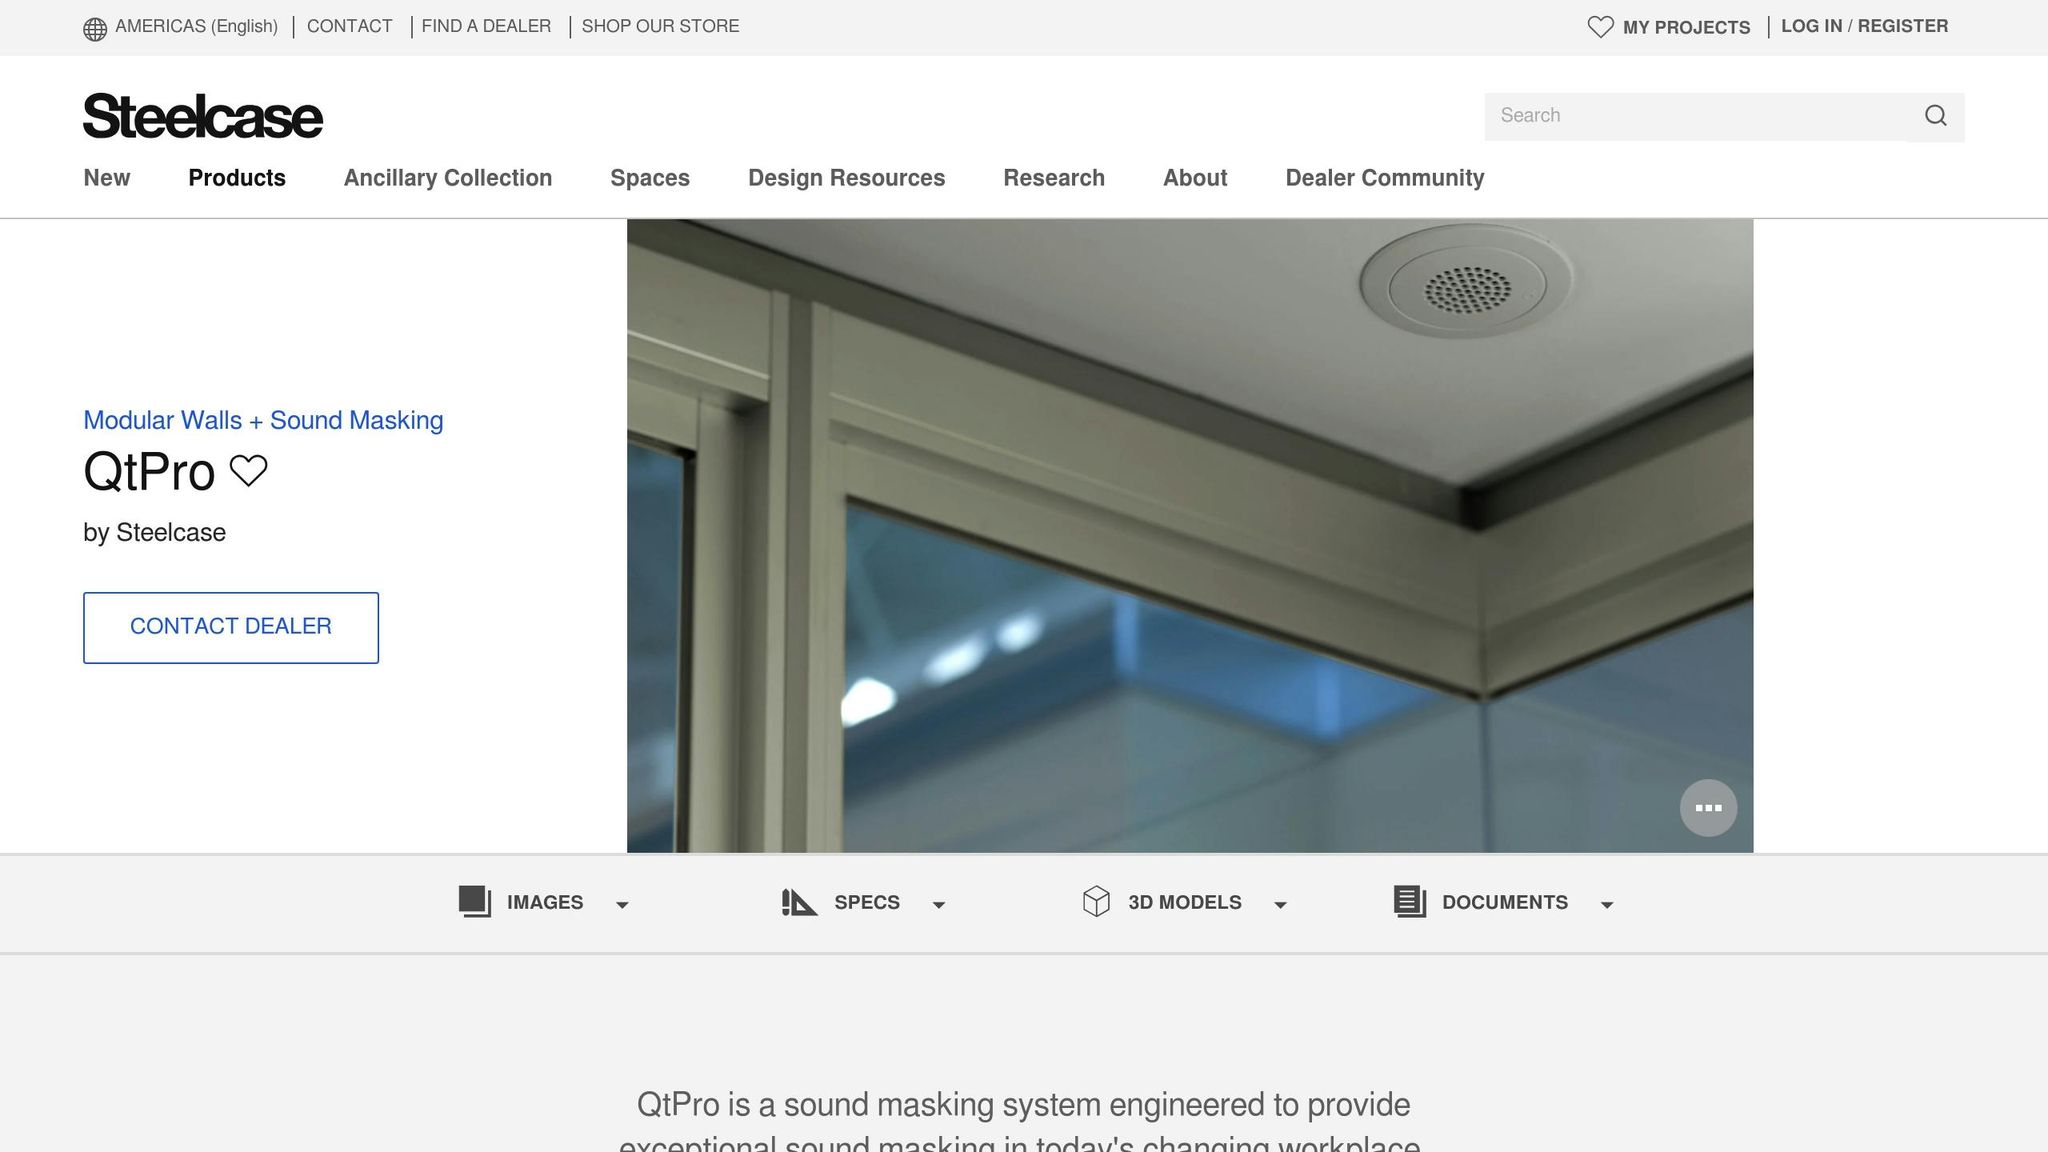
How to install the QtPro system
Planning Your Installation
Careful preparation is key to a successful sound masking setup.
Site Survey
Start with a thorough site survey to assess the acoustic needs of the space. Take measurements of the room dimensions and ceiling heights, and note architectural features that might influence sound distribution. Pay special attention to areas such as:
- Open-plan workspaces
- Private offices and meeting rooms
- Zones with recurring noise issues
- Locations of HVAC systems or other mechanical equipment
Create a detailed floor plan showing where emitters will be placed. Ensure there is proper coverage overlap in critical areas, especially where speech privacy is a priority.
Once the site is mapped out, evaluate how the ceiling structure may affect the installation process.
Ceiling Structure Review
The type of ceiling plays a major role in both installation and system performance. Each ceiling type may require a specific approach for mounting the emitters.
| Ceiling Type | Mounting Approach | Additional Requirements |
|---|---|---|
| Suspended Tile | Mounted directly above tiles | Access panels for adjustments |
| Open Plenum | Cable suspension system | Extra hardware needed |
| Drywall | Surface-mounted emitters | Special mounting brackets |
| Beam/Exposed | Custom mounting solutions | Engineering review required |
Review the Reflective Ceiling Plans (RCP) to spot any elements that might interfere with the installation, such as:
- Lighting fixtures
- HVAC diffusers and returns
- Fire suppression systems
- Other ceiling-mounted equipment
Equipment Setup
Once planning is complete, it’s time to focus on organising and preparing your equipment.
Make sure all system components are arranged properly to avoid potential problems later on.
Control Module Installation
Secure the control module in a spot that’s easy to access, well-ventilated, and close to power and network sources. This setup helps with maintenance and keeps the system secure.
Cable Layout
Follow the installation guide to plan your cable layout. This ensures cables are routed safely and connections remain reliable.
Component Testing
Test every component according to the manufacturer’s instructions. This step confirms everything works as intended and reduces the need for adjustments later.
Once your equipment is ready, you can move on to mounting and wiring the system.
For personalised acoustic solutions and more guidance, visit Sound of Silence.
sbb-itb-06ab728
System Installation Steps
After setting up the equipment, these steps complete the physical installation process.
Mounting Emitters
Place the emitters based on the layout plan created during the site survey. Ensure they are aligned properly and securely fixed in place.
Key considerations for mounting:
- Ensure the ceiling can support the system’s weight.
- Position emitters away from air vents to avoid interference.
- Angle emitters for the best sound direction.
- Document the exact positions of all emitters.
With the emitters securely mounted, you can move on to wiring the system.
System Wiring
Connect the emitters following the manufacturer’s wiring diagram. Keep the installation neat by practising good cable management.
Important wiring steps:
- Label both ends of each cable for easy identification.
- Use cable ties and mounting clips to organise cables.
- Keep signal cables separate from power cables to avoid interference.
- Test every connection for functionality.
- Double-check the polarity of all connections.
Testing and Fixes
Once the wiring is complete, test the system to ensure everything works as intended.
Steps for testing:
- Check each emitter’s output individually.
- Measure sound levels across the entire coverage area.
- Confirm consistent sound coverage throughout.
- Test all system controls for functionality.
- Document the results of all tests.
Sound of Silence provides detailed acoustic testing as part of their installation service, ensuring your system achieves the required sound quality.
Keep detailed records of the following:
- Emitter positions
- Wiring diagrams
- Test results
- System settings
- Calibration data
Setup and Adjustments
Zone and Network Setup
Set up sound zones to align with the layout and intended use of each area, ensuring acoustic privacy goals are met. Each zone type has specific requirements:
| Zone Type | Target Sound Level | Typical Area Coverage |
|---|---|---|
| Open Areas | 45–48 dB(A) | 90–120 m² |
| Private Offices | 37–39 dB(A) | 15–25 m² |
| Transitional Spaces | 40–42 dB(A) | 30–45 m² |
Assign unique IP addresses to amplifiers and organise them into logical groups based on zones. For setups exceeding 20 zones, consider VLAN segmentation to simplify management.
Key steps for network configuration:
- Set up DHCP reservations for each amplifier.
- Ensure network latency stays below 50ms.
- Create day/night volume profiles tailored to each zone.
- Keep a detailed record of all network settings and zone assignments.
Final System Tuning
Once zone and network configurations are in place, fine-tune the system for optimal performance. After verifying wiring and initial tests, dedicate 20–30 days to gradual adjustments based on feedback from occupants.
Important parameters for tuning:
- Keep sound level variations within ±0.5 dB across zones.
- Adjust for HVAC noise by ±2 dB per 1/3 octave band and ensure clear separation between masked and unmasked areas.
- Use automated controls to dynamically adjust volume levels in response to ambient noise.
Ensure all documentation is up to date, including:
- Test results and calibration data.
- BS 8233:2014 compliance certification.
- Emergency mute procedures.
For spaces with ceiling heights over 2.4 m, increase speaker density by 15% for every additional 0.5 m to maintain even sound coverage and dispersion.
Monitor system performance over a two-week period, gathering anonymous occupant feedback in line with GDPR guidelines. If more than 5% of users in any zone report discomfort, make remote gain adjustments through the control interface.
Summary
A well-installed sound masking system improves acoustic privacy and workplace comfort by focusing on three main stages: planning, installation, and calibration.
A detailed site assessment and compliance with BS 8233:2014 are crucial. Interestingly, over 40% of commercial buildings in the UK feature mineral fibre ceiling tiles (with an NRC of 0.6–0.8), which typically need 20% more emitter density compared to plasterboard ceilings.
Key metrics guide the success of each stage:
| Installation Phase | Key Metrics | Indicators of Success |
|---|---|---|
| Planning | 3–4.5 m emitter spacing | Uniform sound coverage |
| Installation | 40–48 dB(A) ambient levels | ≤2 dB variation across points |
| Calibration | ≤0.2 Articulation Index | 15–25 dB reduction in speech intelligibility |
Proper emitter isolation is critical. For example, a hospital retrofit in Birmingham achieved consistent 48 dB(A) levels by using ISO 10848-2 compliant anti-vibration mounts.
Practical results back this up: third-party validation reduced complaints by 55% after installation. A tech park in Reading achieved just a 1.8 dB variance across 12,000 m² by dividing the system into 18 zones.
Facilities teams should monitor sound levels quarterly using UKAS-calibrated equipment, especially near glass partitions. These areas often need 5–7 dB higher masking levels, which can boost speech privacy by 40% in open-plan spaces. Regular monitoring ensures the system remains effective over time.
Keeping ambient noise between 40–48 dB(A) balances it above the HSE‘s lower limit of 35 dB(A) while staying below the 55 dB(A) comfort threshold. To maintain this balance, regular maintenance and biannual recalibration are essential for long-term performance and compliance.
FAQs
What should you consider when setting sound levels for different areas within a building?
When determining the appropriate sound levels for various zones in a building, several factors should be taken into account to ensure effective sound masking and comfort:
- Purpose of the space: Different areas, such as offices, meeting rooms, or common areas, have unique acoustic needs. For example, private offices may require higher sound masking levels compared to open-plan spaces.
- Occupancy and activity levels: Consider how many people typically use the space and the nature of their activities. Louder zones, like cafeterias, may need different treatment compared to quieter zones.
- Existing noise levels: Assess the current ambient noise to ensure the masking system complements rather than overwhelms the environment.
By tailoring sound masking to each zone’s specific requirements, you can create a more comfortable and productive environment. For expert guidance, consult professionals like Sound of Silence, who specialise in bespoke acoustic solutions for diverse spaces.
How does the type of ceiling affect the installation and performance of a sound masking system?
The type of ceiling plays a significant role in the installation and effectiveness of a sound masking system. Ceilings with open grids or exposed structures may require additional considerations, such as specialised mounting hardware or adjustments to the speaker placement, to ensure even sound distribution. Conversely, suspended or drop ceilings often allow for easier installation and better concealment of the system components.
The material and design of the ceiling can also influence how sound travels within the space. For example, highly reflective surfaces might affect the system’s ability to mask noise effectively, whereas acoustically absorptive materials can enhance its performance. It’s always best to consult an acoustic expert to ensure the system is tailored to the specific ceiling type and space requirements.
How can I maintain and calibrate a sound masking system to ensure it works effectively over time?
To keep your sound masking system performing at its best, regular maintenance and calibration are essential. Here are some recommended practices:
- Schedule periodic checks: Inspect the system every 6 to 12 months to ensure all components are functioning correctly.
- Test sound levels: Use professional sound testing equipment to confirm that the masking sound remains consistent and meets the desired acoustic levels.
- Clean the equipment: Dust and debris can affect performance, so clean speakers and other hardware as needed.
- Update settings: If the space layout or usage changes, recalibrate the system to adapt to the new environment.
Proper maintenance not only extends the life of your system but also ensures it continues to deliver optimal acoustic privacy and comfort.